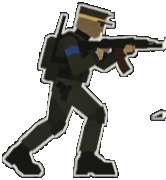
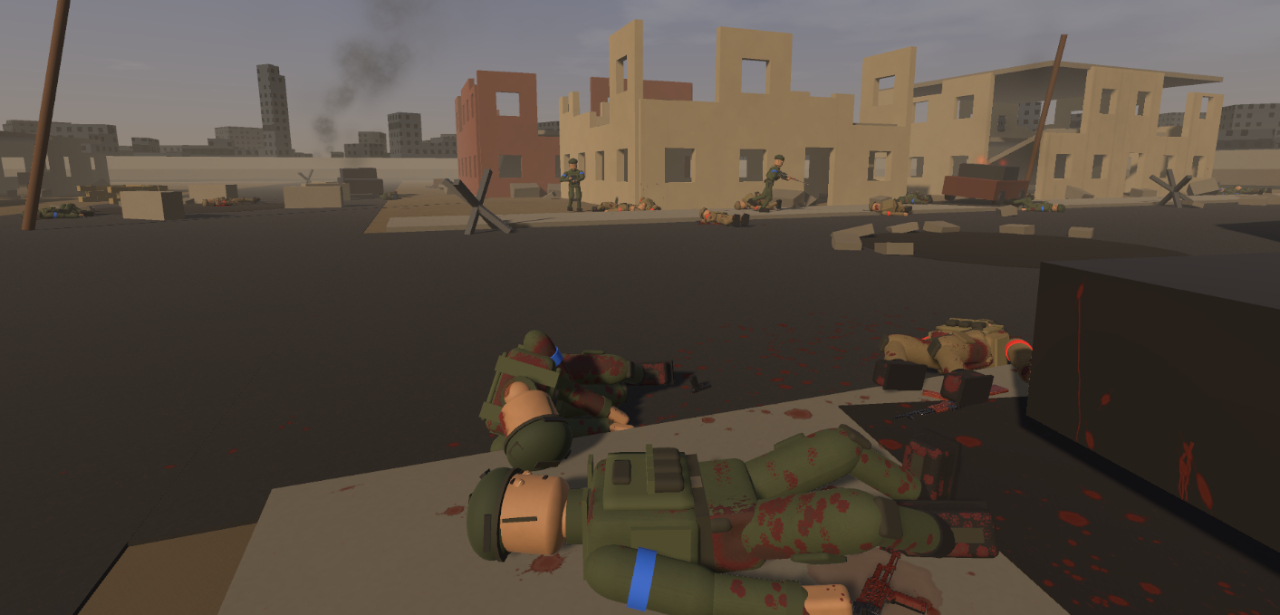
DummyWar is a sandbox first and a shooter second. There is no campaign, no mission order and no scoreboard telling you whether you "won". You place soldiers from two opposing teams, build the encounter you want, and let the physics decide what happens next. The first battle is therefore less about tactics and more about learning what the sandbox reacts to.
Pick a battlefield before you spawn anyone
Two maps carry the current version of the game, and they ask very different questions of you.
- EasternBattle is a post-Soviet town: grey apartment blocks, courtyards between buildings and enough hard cover that every corner can hide a soldier. Fights here happen at close range and end fast.
- Dead Ground is a 360 × 360 meter open steppe along a trench front line, cut by scorched tree lines and shell craters. You can see a long way, and everything you can see can shoot back.
EasternBattle is the faster map to learn on, because a firefight is over before it starts if both sides are in the same courtyard. Dead Ground rewards patience and vehicles. If you just want to see the ragdoll physics work, the urban map delivers that in under a minute.
Start with fewer soldiers than you think you need
Every soldier is a full physics body with active ragdoll behaviour, so a big roster is expensive. The developer has been optimising the build, but a large firefight on a modest machine will still drop frames. Drop eight soldiers into a scenario, watch how it resolves, then add more.
Death got cheaper along the way too. Earlier builds left dead characters partially active after they went down, which meant a long battle kept paying for bodies that were no longer moving. That was fixed, so corpses now cost far less than live soldiers.
What the AI does while you are watching
The AI is not a script that walks soldiers into a line and trades shots. According to the developer, bots will engage enemies, search for cover, react to incoming fire and try to recover their balance after being hit. On top of that they handle the battlefield themselves:
- They treat their own wounds when it is safe to do so, and seriously wounded soldiers call for a medic and wait for one.
- They resupply on their own when they run out of bandages, rockets or grenades.
- They drive vehicles, ferry infantry from the base to capture points, drop them off out of enemy sight and provide covering fire on the way.
- They will flip an overturned vehicle back onto its wheels.
That list is the difference between a shooter and a sandbox. A bot that heals itself and then goes back into the line is a squad member; a bot that walks into a doorway and gets shot is a prop.
Watch one round before you take over
Start in observer mode. Let the two sides fight without you and watch the pattern: who moves first, whether the AI prefers cover, how far it travels before it shoots, how a body ends up where it ends up. Two or three rounds of watching teaches you more than any guide, because the AI tells you what it wants to do and you can work with it instead of against it.
Then take control of one soldier
Once you know what the AI does, possess a single soldier rather than commanding the whole battle. You keep the same physics, the same hit reactions and the same rules as the bots, and you can now see the gaps in their behaviour up close. This is where the sandbox stops being a toy and starts being useful.
Use the ragdoll instead of fighting it
Active ragdoll physics is the headline feature: characters physically react to movement, impacts, injuries and their surroundings, and they try to regain their footing. The practical consequence is that positioning matters more than aim. A soldier pushed off a ledge, shot off a wall or caught in an explosion is a body that has to get up again, and a body getting up again is a body that is not shooting at you.
That is the loop the whole game is built on — every exchange changes the shape of the battlefield, and the shape of the battlefield decides the next exchange.
Where to go next
- Capture the Flag — the objective mode, capture points and reinforcement credits.
- Commander Orders — the order wheel and supply crates that turn a free-for-all into a plan.
- The Medical System — why a squad that heals wins more fights than a squad that shoots faster.